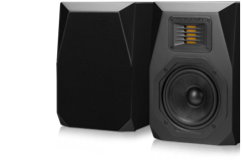
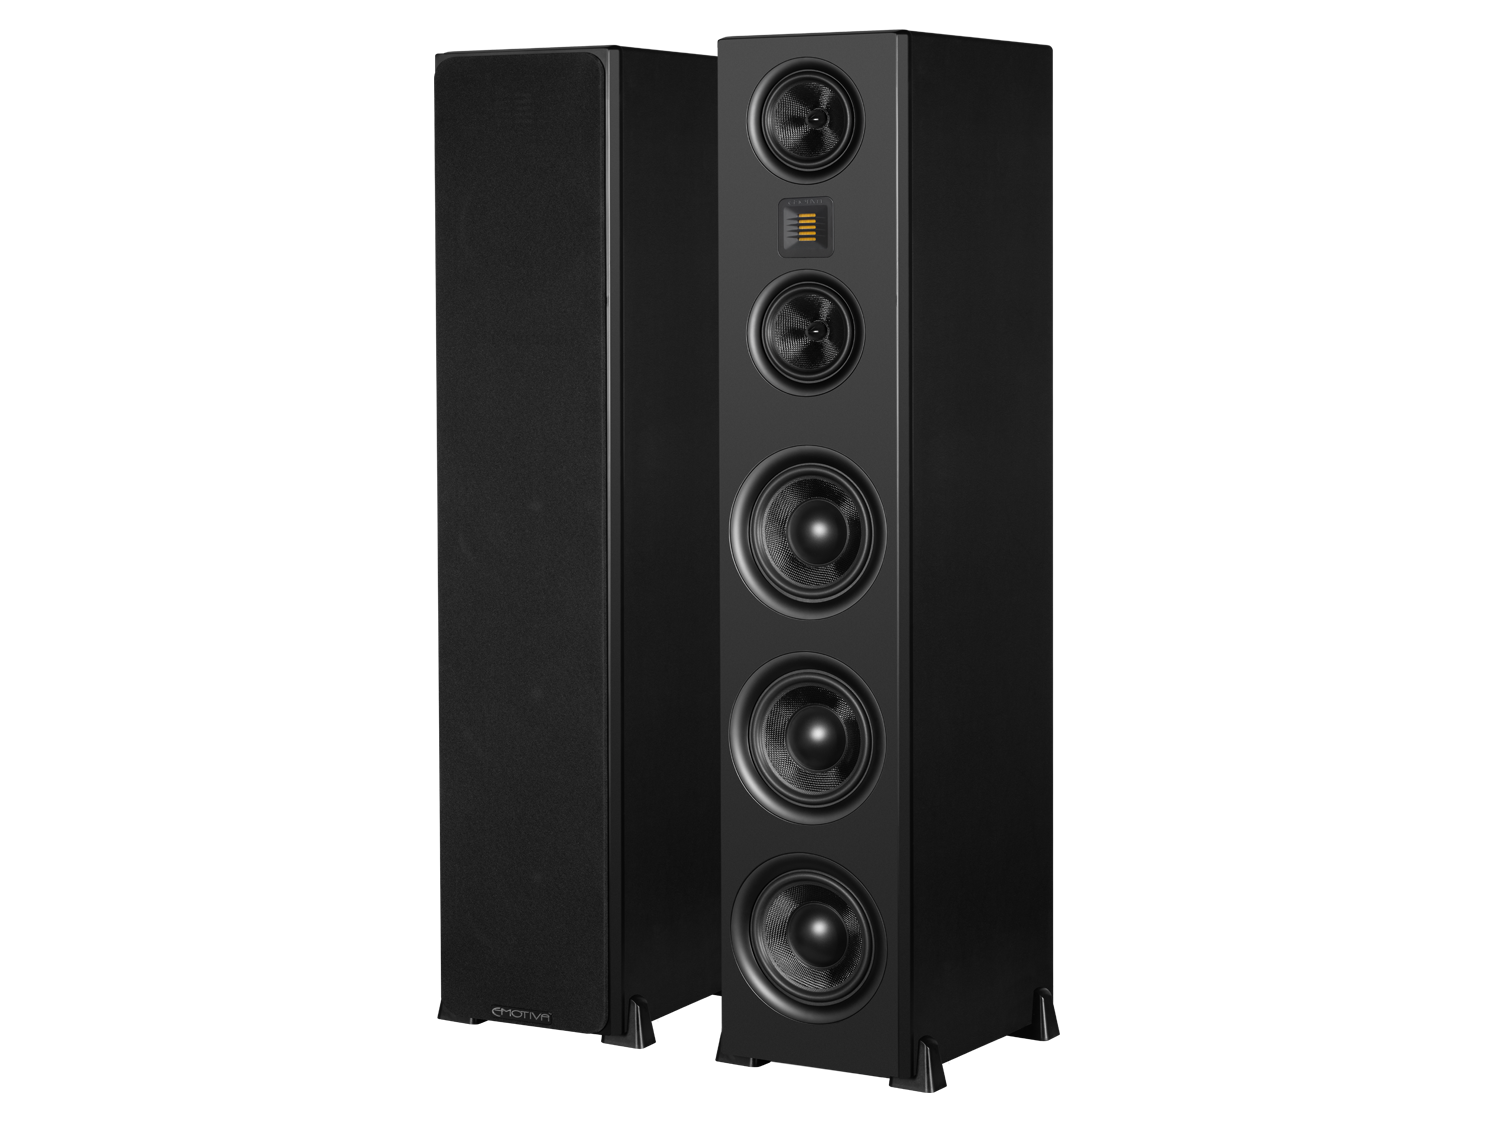
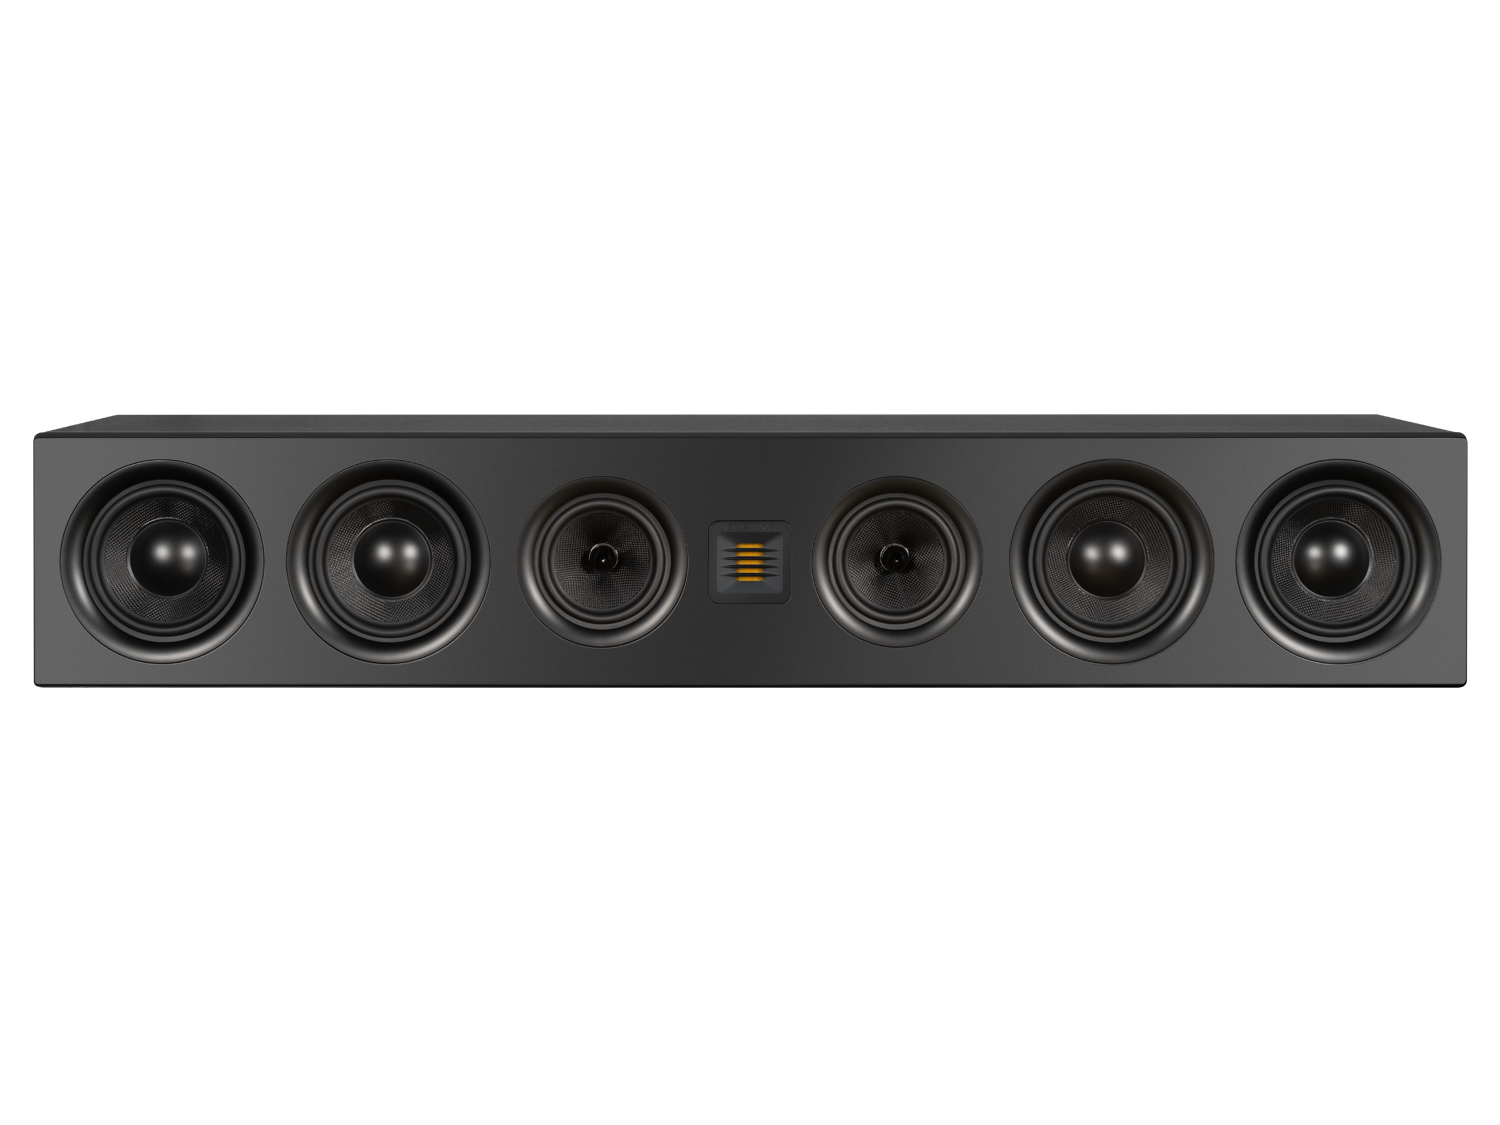
A great set of speakers can be quite an investment, and it’s essential to keep them performing their best. Cleaning them regularly will help your speakers continue to sound great throughout years of ownership.
When it comes to cleaning your speakers, it’s essential to set up a proper cleaning schedule while also understanding what the exterior of your speaker is made of and choosing the correct cleaning method accordingly.
If you neglect your speakers, dust and debris can eventually negatively affect the performance of your speakers, so taking time to gently clean will help you get the most out of your speaker investment.

Why you need to clean your speakers
Speakers and dust don’t play well together, and neglecting regular cleaning for your speakers can result in layers of dust that could eventually damage some of the drivers in the speakers. Furthermore, there may be times when something is spilled on the speaker cabinet, and it’s essential to go ahead and clean up any messes or spills before they have a chance to set in or stain the speaker cabinet.
Materials needed to clean a speaker
- microfiber cloth
- cleaning solution
- compressed air
- feather duster
Tips for cleaning your speakers
Gently clean the exterior with a soft, clean cloth. Speaker grills: Gently remove and use a vacuum hose with a dust brush attachment. Speaker cones: Use a can of compressed air and a small brush. Terminal: Unplug all cables; vacuum and use Q-Tips to remove debris.
What to avoid
Avoid paper towels since these leave tiny unwanted fibers or particles on surfaces. Also, use two cleaning cloths to clean the speakers (one for wet and the other for dry). When wiping away dust, the dry cloth alone should suffice. But for anything grimier, use both.

How to clean each part of the speaker
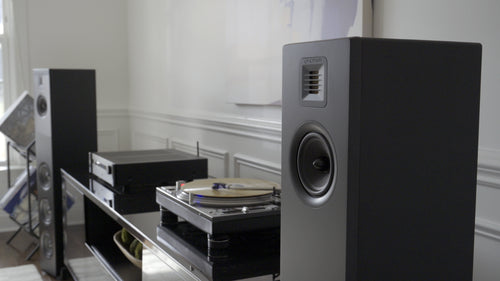
Clean the speaker cabinet
Very gently and carefully - first, you need to start by taking off anything you have on that could potentially scratch or damage the cabinet. Some examples of this are jewelry, Belts (if you are standing cleaning a tower speakers), and any sharp objects. It would help if you then utilized a damp microfiber cloth to clean the outside of the cabinet.
Clean the speaker grill
If the speaker has a removable metal or plastic grill, clean it (front and back) with a soapy sponge in the sink or tub. Use a dust brush attachment on the vacuum hose for cloth grills to get any dust. If the grill cloth is exceptionally dirty, it may be necessary to use a mild cleaning solution on the cloth to remove any stains.
Clean the speaker cone
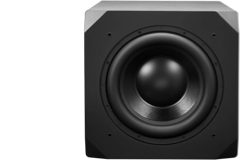
Cleaning the different drivers of the speakers takes extra care. It is crucial to be careful when dusting the delicate tweeter, as dome tweeters can easily be pushed in accidentally if too much force is applied while cleaning. First, try compressed air on the tweeter. At most, a gentle brush with a clean feather duster should remove any dust from the tweeter.
Also, a duster can be used on the cones of the midrange and bass drivers. If they are exceptionally grimy, using a microfiber cloth may be necessary. If there is dirt caked on, it would be best to contact the speaker manufacturer to see if they recommend a cleaning solution for the cones. In almost all cases, cleaning liquids should not be used on the cones of speaker drivers.
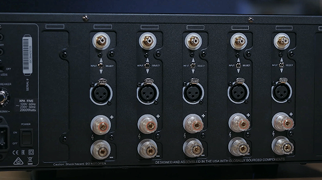
Clean the speaker terminal
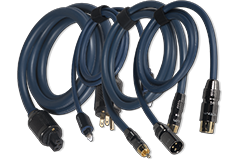
For speaker and power cables, apply a scant amount of the electrical contact cleaner (Craig Pro Gold and Deoxit work exceptionally well) to one of the microfiber cloths and carefully clean each connector.

Listen to the difference a clean speaker makes with your Emotiva speakers!
Are your speakers still as clean as when you first opened the box? That’s doubtful, but not abnormal! Just clean your speakers, and your sound stage will undoubtedly thank you!
Share Post


